In this article, we show you how to create and send an invoice to your clients.
If you haven't set up your documents and templates yet, please look at this article first
Create an invoice
Go to the dashboard, and click on the left side of the menu on Invoices. Now click on +invoice at the top left of the screen.
Now a form will pop up, and start by choosing which contact to send the invoice to.
Next, you should choose the starting and due date of the invoice.
Write the subject of the invoice and check the box if you want to generate an Invoice number for your bookkeeping.

Now fill out the invoice line with a description, Tax%, and the amount that needs to be paid, you can add another invoice line by clicking on + invoice line.
Set the currency, and write a comment if you want to display it on the invoice.
You can also apply additional tax by checking the box assigned to that and adding a description and rate%.
Click on save to finish the invoice.
Sending the invoice
Now that you have created an invoice, it's time to send it.
Your invoice is now saved as a concept in the drafts tab on the top right corner of the screen, here you can look at a preview of the invoice and make adjustments by clicking on the pencil icon.
Now click on the invoice you want to send, and click on send invoice at the right side of the screen.

Reminder
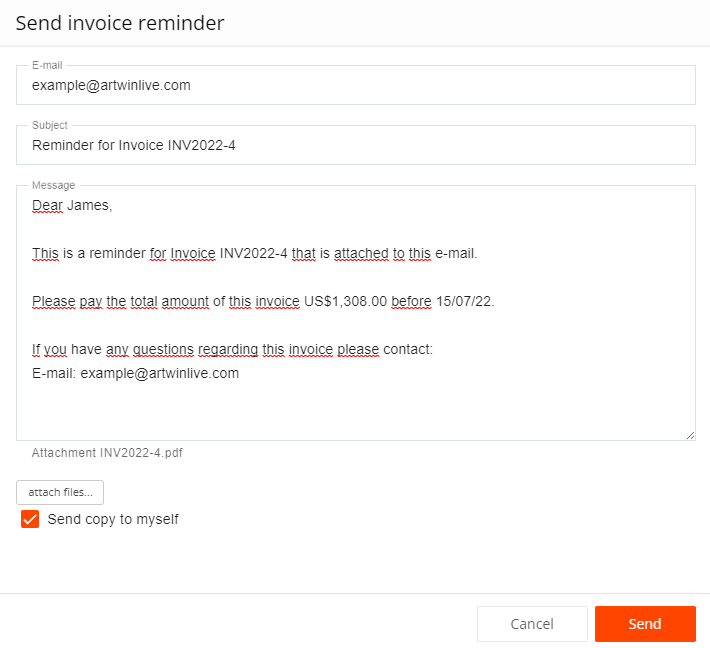
If your client is late on returning the invoice or you just want to send a reminder, click on send reminder on the right side of the screen.

Disable invoices
You can disable invoices as a standard option in your account setting under the financial and invoices tab.
